Showing posts with label crafts. Show all posts

Monday, November 17, 2014

DIY Gingerbread House Christmas Advent Calendar

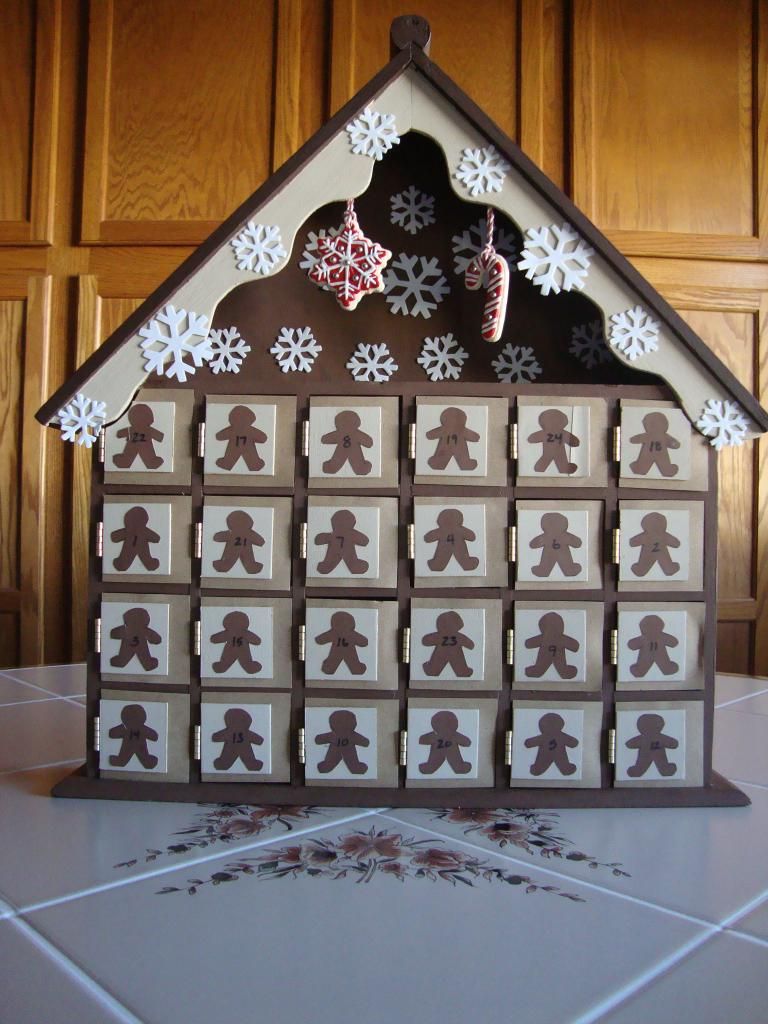
When it comes to creating handmade Christmas Advent calendars, one really is limited only by their imagination.  A quick search will bring up countless ideas if you want to create your own.  I've had a knick knack shelf in my craft stash for quite some time now and so decided to turn it into a gingerbread house Advent calendar.  Because the openings are only 2 inches by 2 inches, I was a little bit limited when it came to choosing what to fill it with, but sometimes the challenge is part of the fun.  Here's a picture of the finished product. 


For the main part of the house I used Folk Art paint in the color Coffee Bean, for the roof of the house I used Folk Art paint in the color Real Brown, and for the roof trim I used Folk Art paint in the color Linen.
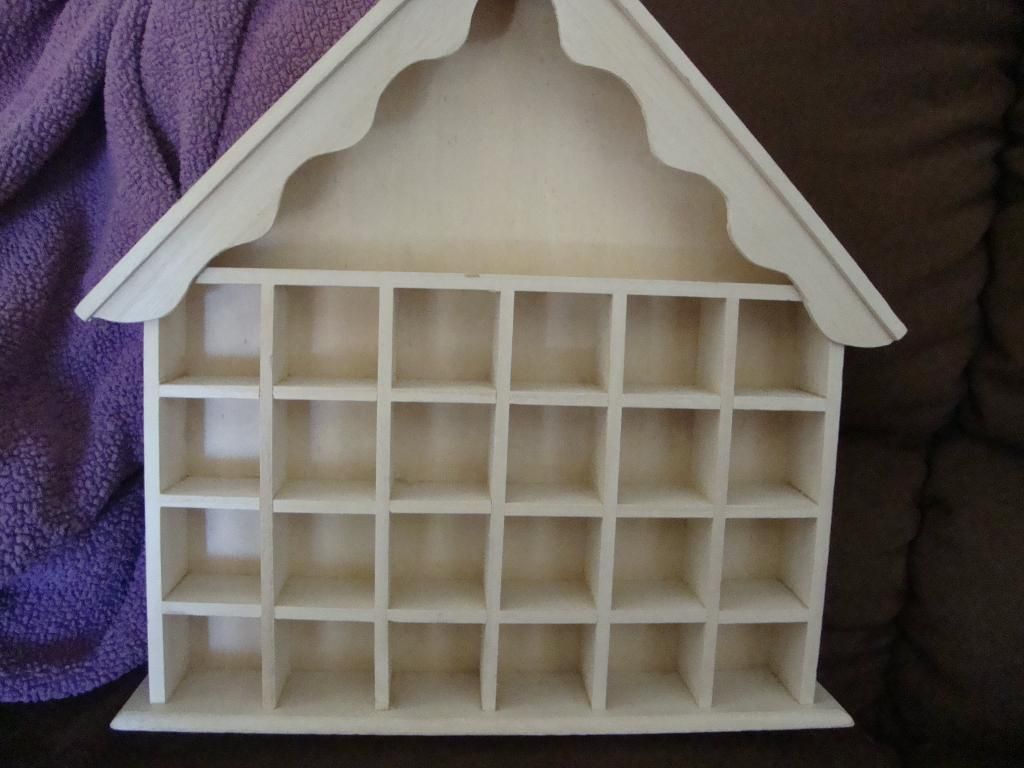

This is the knick knack shelf I had in my craft stash.  It has twenty-four openings, so it would be perfect for this project. 
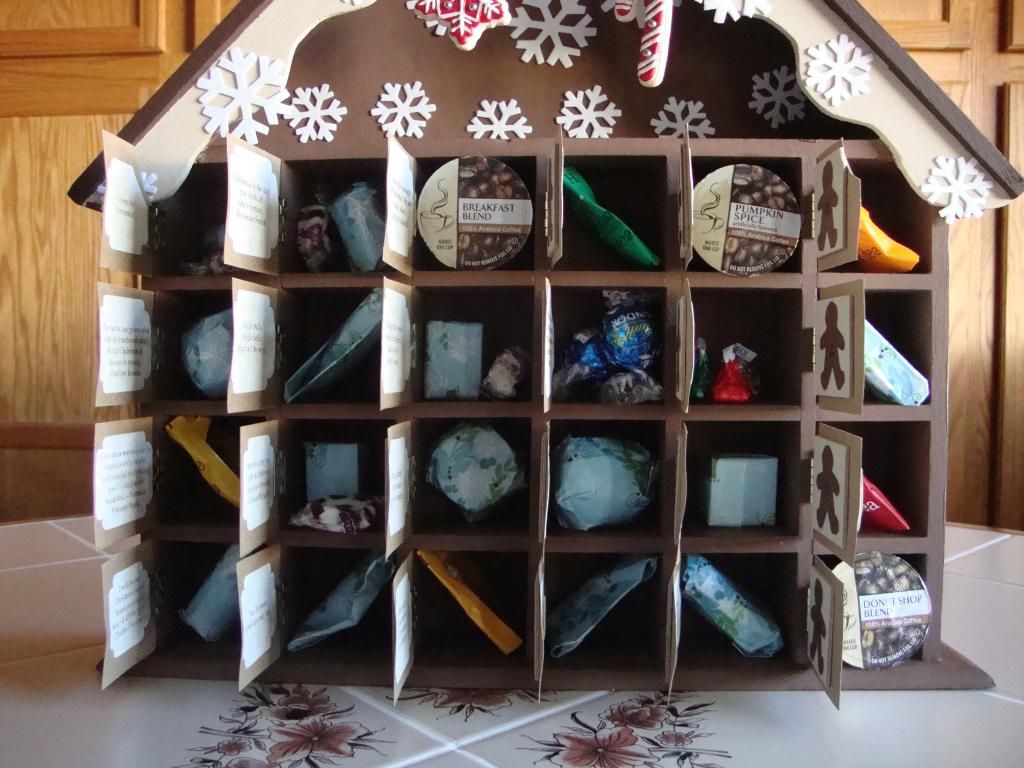

Here's a picture of the Advent calendar with the doors open.
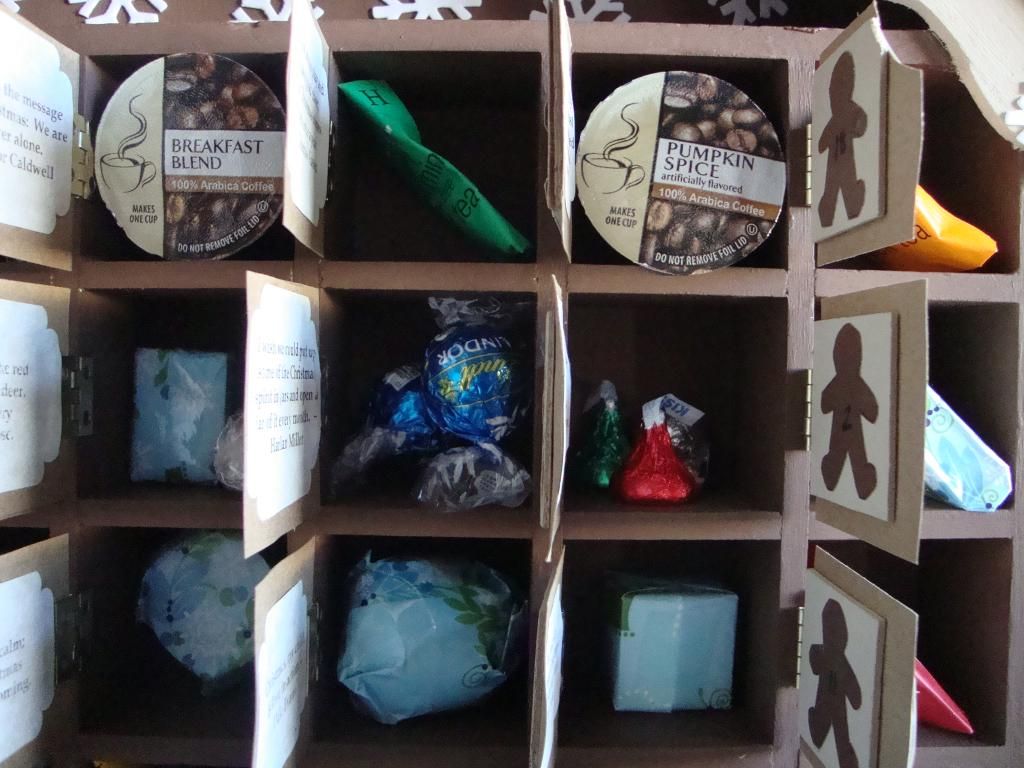

As I mentioned above, I was a bit limited by the size of the openings when it came time to filling the calendar, but I was happy with what I came up with.  There are fourteen wrapped gifts in the calendar and are mostly beauty related.  They range from EOS lip balms to high end skin care samples from Benefit and Kate Sommerville to hair care samples such as macadamia oil to single eye shadows.  I also included three coffees in the flavors Donut Shop Blend, Pumpkin Spice, and Breakfast Blend as well as five teas in the flavors Chamomile herbal tea, Peppermint herbal tea, Chai Spice black tea, Lemon Ginger herbal tea, and Orange Spice black tea.  Finally, I inluded some Lindor chocolate, Hershey Kisses, and those yummy Peppermint Nougats by Brachs that come out around Christmas every year.
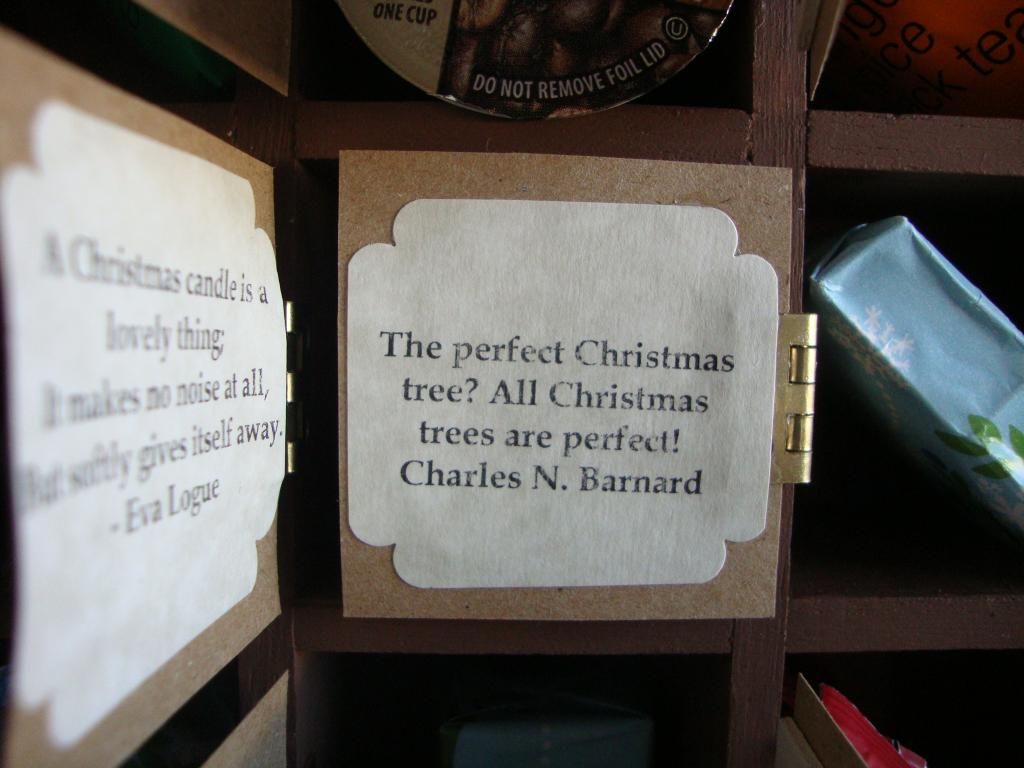
 

I put a different Christmas saying on the inside of every door.
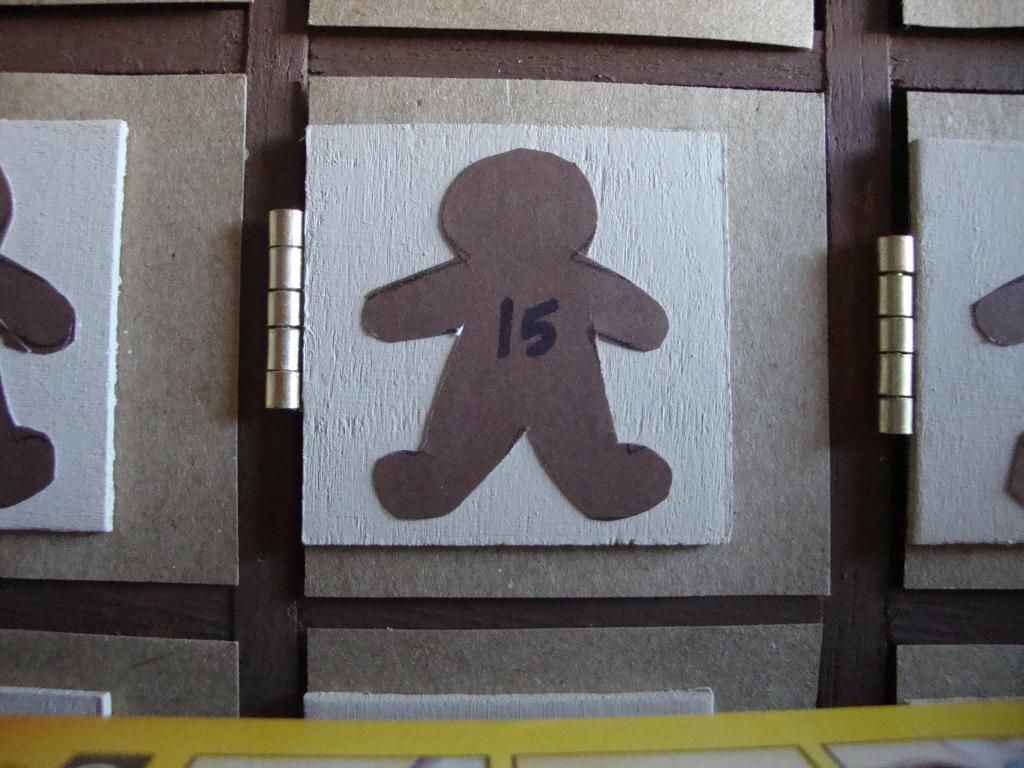

I debated whether to include this picture because I don't think the photo does the colors justice as they look much nicer than they are actually appearing, but I decided to anyway so that I could better explain how I made the doors to the openings.  I checked a few craft stores because I had wanted to use 2 inch by 2 inch wood pieces to create the doors and I didn't have any in my stash.  I don't have the time these days to run all over town looking for them and I didn't want to cut twenty-four pieces out of a large piece of wood so, after checking a few stores I decided to consider another way of making them.  What I ended up doing was taking a smaller size wood piece, painting it (using Folk Art in the color Linen), and then attaching it to a piece of card stock.  It turned out to be a blessing in disguise because I really look the way they turned out.  I then printed out a gingerbread man template from the internet, numbered it, and pasted it onto the wood piece.  I found the small hinges at Home Depot.  Again, the colors really do look much nicer in person.
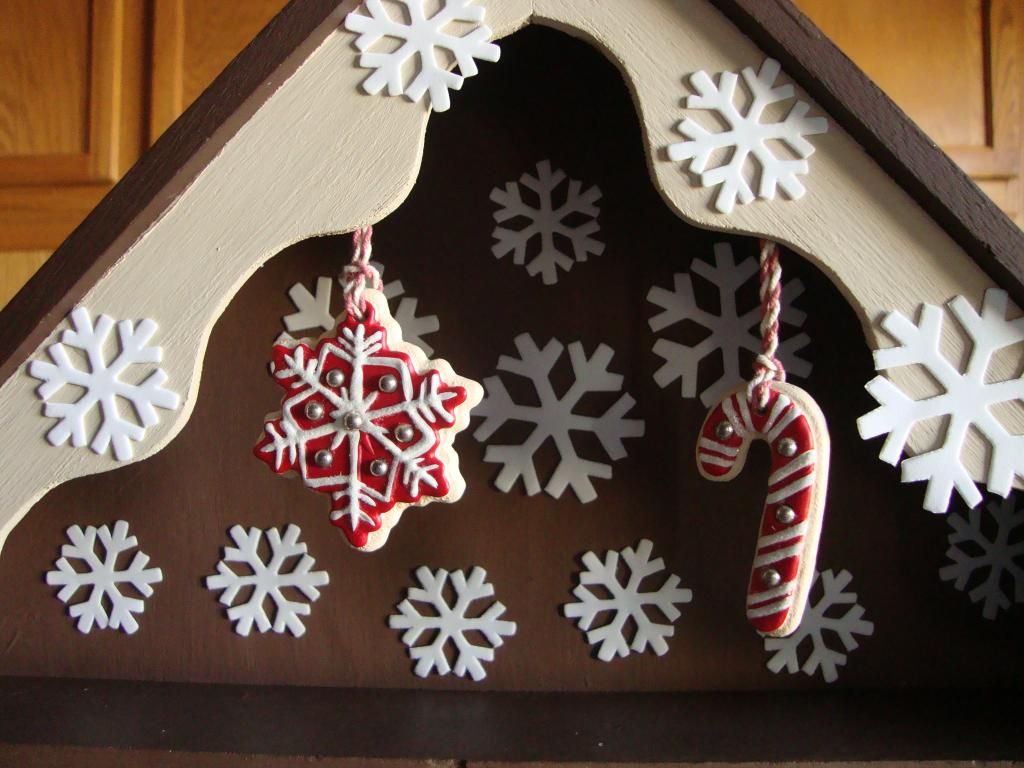
 

This is a closeup of the roof portion of the calendar and I just love the way it turned out.  I had the candy cane and snowflake ornaments in my stash and I included them just for fun and to add a little color.  I also had the snowflakes in my stash and they were included as a nod to my upbringing in North Dakota/Minnesota.
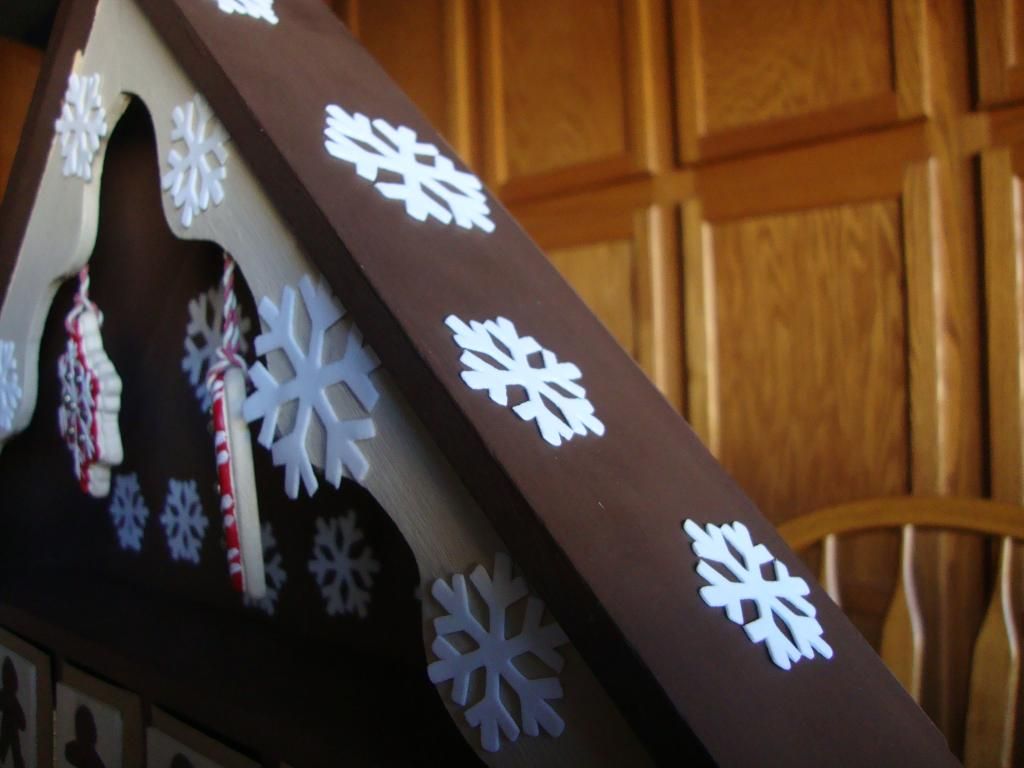
 

More snowflakes on the roof. 

So there you have it.  This is my first attempt at an Advent calendar.  It was a lot of fun to make and I'll likely try another one next year.  Below are some ideas for items to use when filling your own calendar.  The things I've included are for smaller advent calendars but, depending on the size of the openings (the bigger your openings the more flexibility you will have), the possibilities are endless.
 
For the coffee and/or tea drinker:
  • Sample sizes and single use coffees and teas in assorted flavors.  I used both of these for the Advent calendar I just created.
  • For a person who owns a Keurig machine, you could provide a different flavor K-cup for each day.
  • Coffee beans in assorted flavors. 
  • Candied sugar and crystal sugar sticks.
  • I don't use flavored powdered creamers but they are probably available.  It might be fun to pair them up with different flavored coffees.  
For the crafter:
  • Rubber stamps
  • Ribbon
  • Embossing powder
  • Beads and crystal gems for jewelry making
  • Small bunches of flowers and greenery
  • Embellishments for mini scrapbooks
  • Paint in small containers
Beauty items: 
  • Deluxe samples from Sephora and high end samples from places like Benefit and Kate Sommerville
  • EOS lip balms
  • Small specialty soaps
  • Mini bottles of nail polish
  • Small pots of lip gloss
  • Hair accessories
  • Single eye shadows
 Food Items: 
  • Different types of nuts such as cashews, pistachios, and walnuts wrapped in air tight packaging and tied with a ribbon
  • Small packages of spices for someone who likes to cook a lot
  • Raisins and dried fruits
  • Different types of chocolates such as truffles, assorted chocolates, chocolate covered raisins, homemade fudge, Lindor chocolates
  • Peanut brittle
  • Almond bark
  • Hot chocolate in assorted flavors
Candles and Home Fragrance
  • Tealights in a variety of scents
  • Small vials of scented oil
  • Wax tarts in assorted scents.  For someone who typically uses wax tarts on a daily basis, you could include a different scent for each day of the calendar.  
Miscellaneous Items
  • Poems and sayings
  • Bible verses
  • Scratch off lottery tickets
  • New recipes to try
  • Seeds for flowers and herbs
  • Quotes from the Bible
  • Jewelry
For Men:  (This is a little tougher, especially when you are limited to smaller items, so if you are making an Advent calendar for a man, I recommend making one with larger openings.  That said, here are some ideas for a smaller Advent calendar.)
  • Fishing lures
  • Single use coffees
  • Mini candy bars and other sweets
  • BBQ spice blends - you could include a number of different blends for different days
  • Smoke chips for the BBQ - you could include just a few from a large bag to put in the calendar
  • Gift certificates 
  • Hair care, cologne, and aftershave samples
So there are some ideas for your own Advent calendar.  Use your imagination and have fun!!


Sunday, November 10, 2013

Harry Potter Crafts - Hogwarts Castle

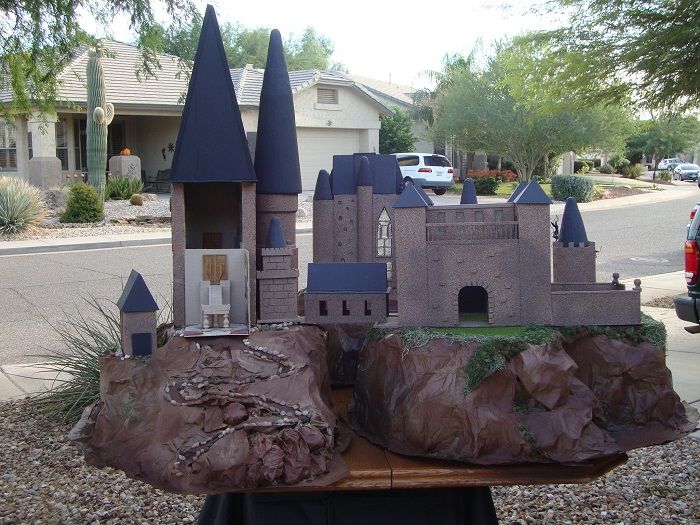
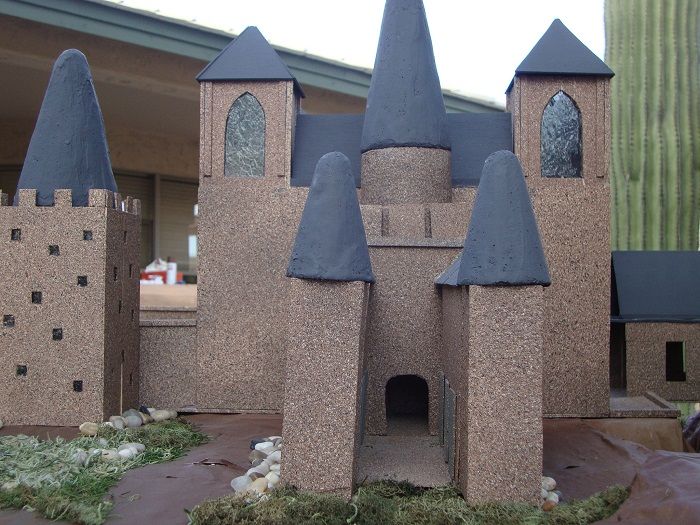
I think I mentioned it in a previous post, but this project was at least five years in the making.  It's quite detailed in some places, but the main reason it took so long to finish is because I would take it out and work on it here and there when time would allow.  There were also times when I would get stuck on a part of it and would put it away until I figured out what I wanted to do with it.  Since I put so much work into the castle, I decided to make a mountain of sorts for it to sit on, so to say.  This was made from bankers boxes, newspaper, a solution of wallpaper paste and water, paint in a variety of colors, and an assortment of craft foliage.  It also looks really nice when it's dark and I have it lit up.  When I was creating it, I always had in mind the fact that I would want to light it up so I made little hallways and other hidey-holes for the tealights.  I use electric tealights for the obvious reason that I don't want the thing going up in flames after I put so much time into creating it.  Everything was made using styrofoam pieces and an assortment of craft wood that I got at Michaels.  

I put it on display in my front yard on Halloween and both the kids and their parents got a kick out of it.  It was a lot of fun to make but now that I've had it on display I'm looking forward to moving on to other projects.  So I'll pack it up and store it in the garage so I have room in my craft room for other things.


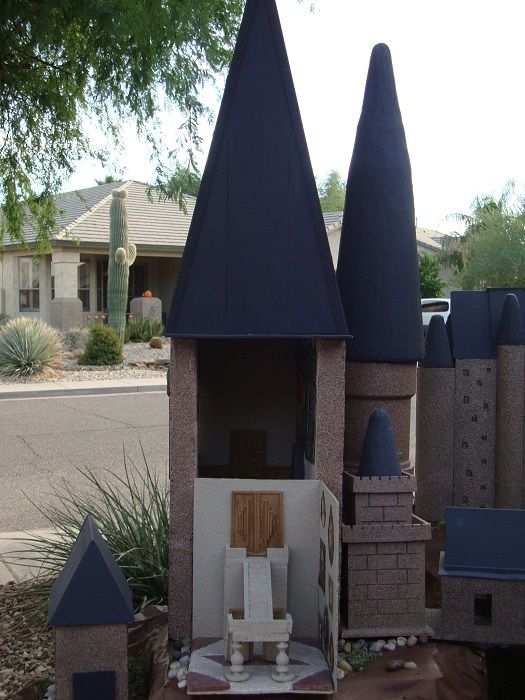
This is the Great Hall with the entryway in front.  I decided to make it a cutaway because I made the entryway in such detail.  The walls of the Great Hall are made of pieces of styrofoam, and there are two levels to it.  (The entryway is covering the lower half in the picture.)  I added the lower half for two reasons.  The Great Hall itself had to be set up higher to match the door leading to it and, with the addition of the lower half, I could add more windows which would in turn add to the effect when it was lit up.


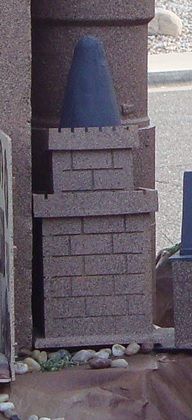
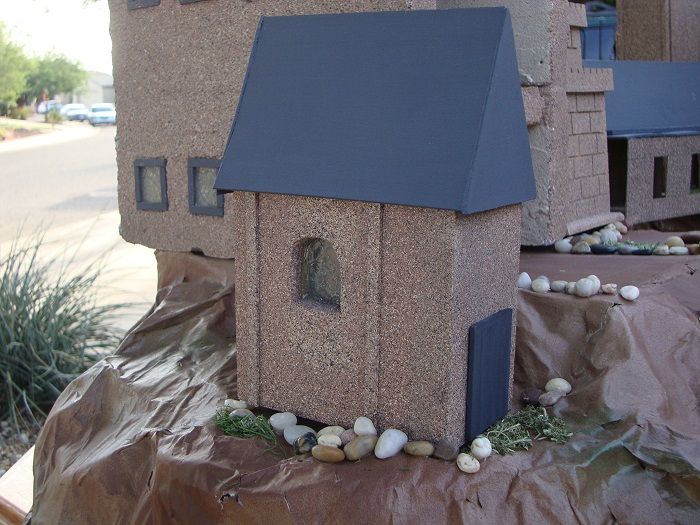
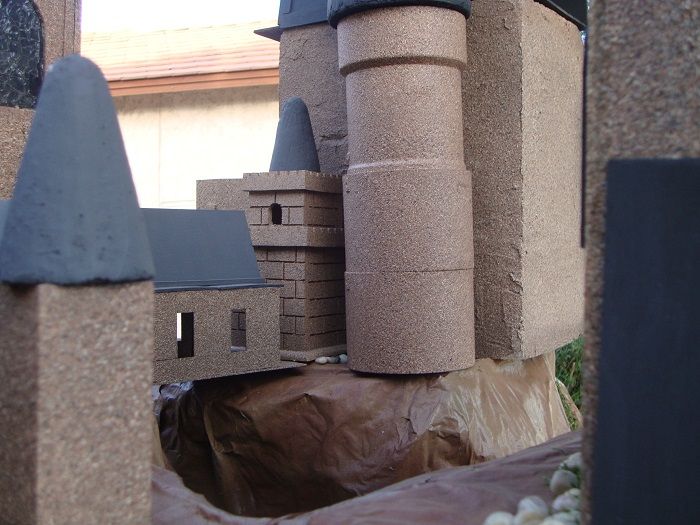
This small building is the only part of the castle that I didn't make myself.  I purchased it from Michaels as a plain wooden building, added the top, and spray painted it. 


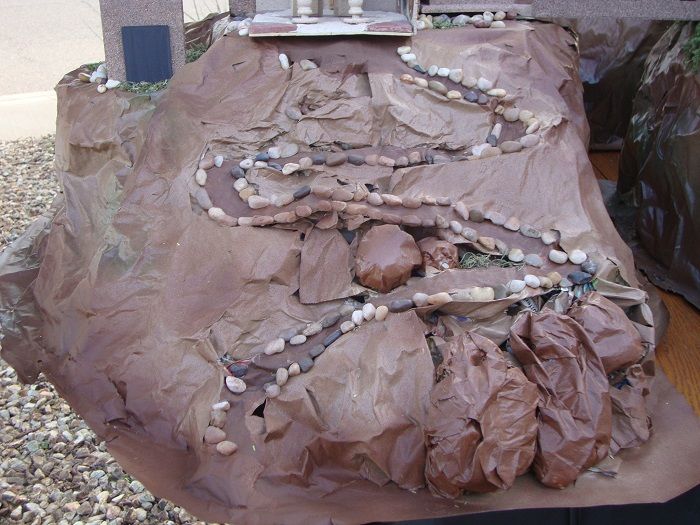
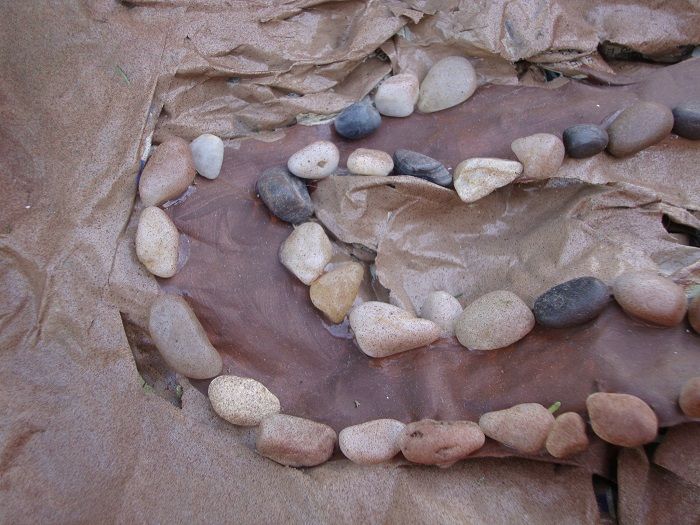
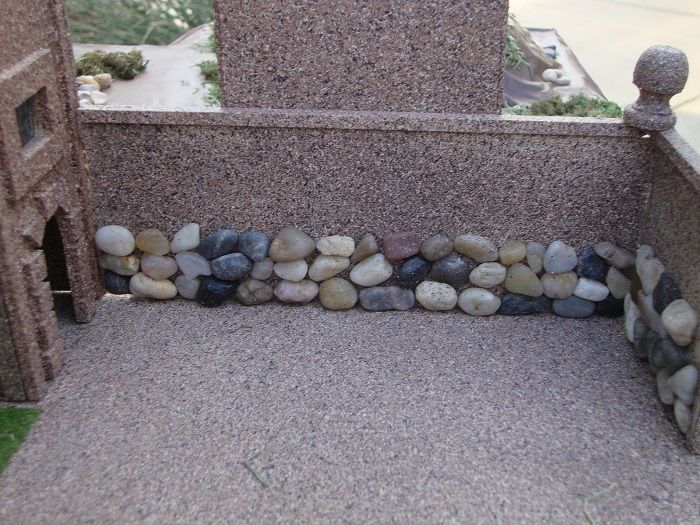
This is a closeup of the mountain I made for the castle to sit on.  I just put some bankers boxes together and then filled in the spaces as needed with wadded up newspaper.  I then covered everything with a solution of very thin wallpaper paste and water.  When it was dry, I painted it using the same leftover paint I had used on Weasleys Wizard Wheezes.  I then added a little trail leading up to the entryway to the Great Hall using craft stones before adding some craft foliage.  Finally, I used spray paint in colors of brown and green and randomly sprayed different areas to add a little to it.


This is a closeup of the little trail I created leading up to the entryway to the Great Hall.


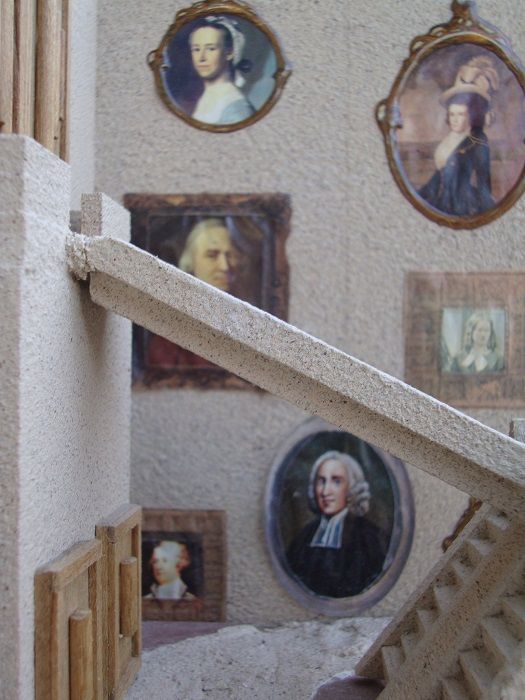
This is a closeup of the entryway.  On the walls at Hogwarts are huge pictures of witches and wizards who move in their frames.  Note the pictures I used - they are not pictures of witches and wizards!  I created the entryway using thin pieces of wood.  I then spray painted the walls using Plasti-Kote Fleck Stone Spray Stone Finish in the color Santa Fe Sand, and added the pictures into some frames I had in my craft stash.  


I made the stairway using long strips of wood and other small pieces of wood. 


The steps were made from a long, thin piece of wood that I cut on the diagonal.  It took quite awhile to do and is probably the most detailed part of the castle.  For the floor, I arranged pieces of stone I had found at Michaels.  


This is a side view of the stairway.


I made the door using strips of wood which I then stained.


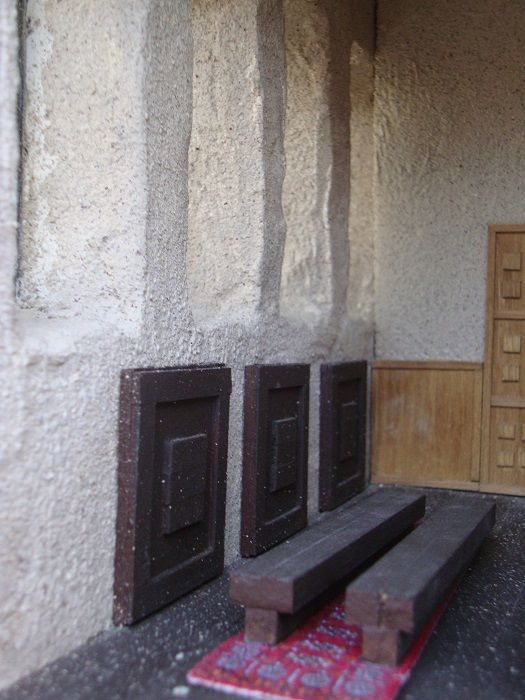
This is inside the Great Hall.  I need to clean it up a bit, especially the floor.  It got a bit dirty when I was touching up the walls and windows.  I'll probably re-stain the door and panels on the back wall as well.  It's also a bit of a work in progress as I need to make some sort of a staff table and I'd like to do something with the back wall.  I'm just not sure what I want to do with it yet.  The rugs under the two tables are bookmarks that I found somewhere.


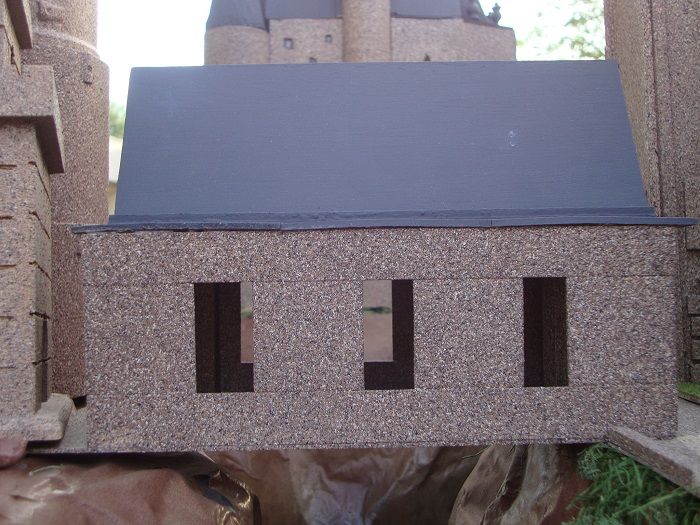
The areas that are cut out are windows.


The fireplace in the Great Hall.


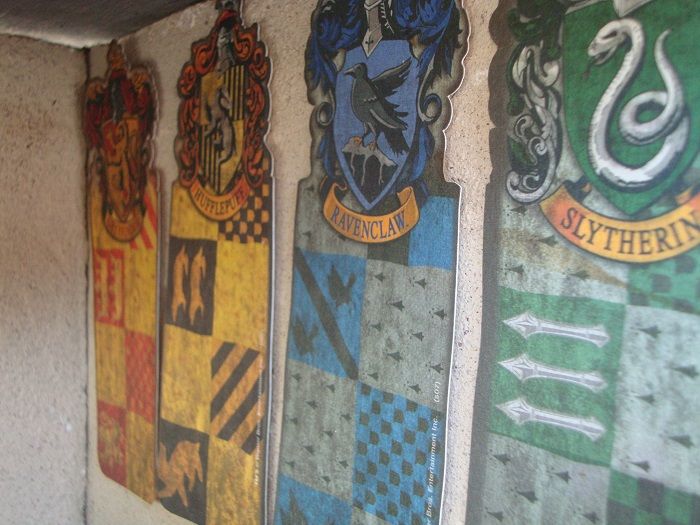
The house banners are bookmarks I picked up somewhere.


This is the door on the back wall.  I'll need to touch it up a bit as it got dirty, and I'll be repainting the floor as well when I get a chance.


This is the little building that sits to the left of the Great Hall.  The outside of the castle is painted with Rust-Oleum American Accents Stone in the color Sienna Tone.


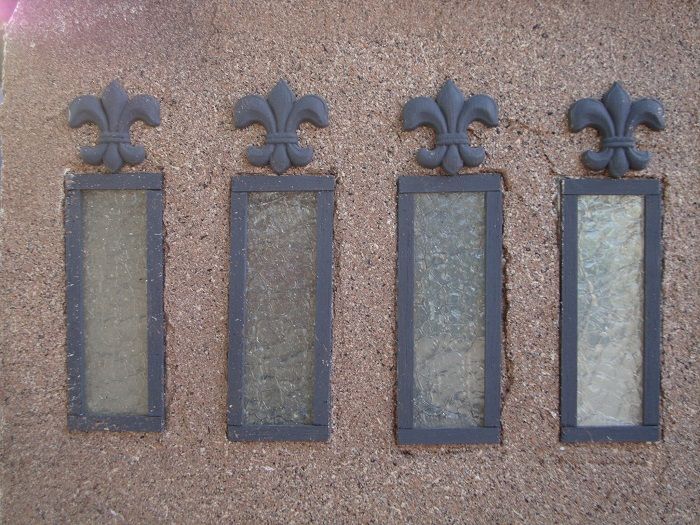
This is a view of the windows in the Great Hall as they appear from the outside.  They actually started out as a liquid.  I cut a piece of very thin hard plastic to fit the openings I had cut.  Once I had the piece of plastic fitted into the window opening, I used a product called Gallery Glass in Crystal Clear to create the window.  Once it was dry, I was able to remove the plastic.  I then put another layer on the window but this time used Gallery Glass in Crackle Medium.  It gives the window a really interesting look and looks nice when the castle is lit up. 


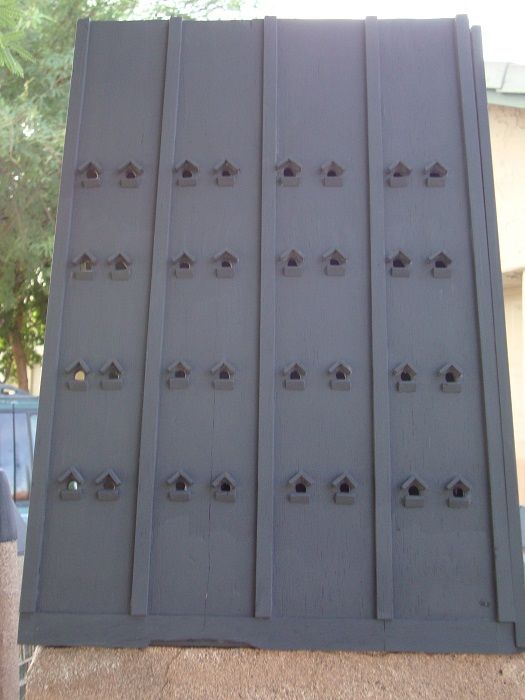
The roof of the Great Hall started out as four pieces of thin wood.  I cut holes in them using a Dremel and then made little roofs, so to say, over each hole.  This was actually a fairly time-consuming part of the project but I like the way it turned out and I designed it with the back of it open so that I could put tealights inside.


This is a little bridge that connects the Great Hall with the rest of the castle.


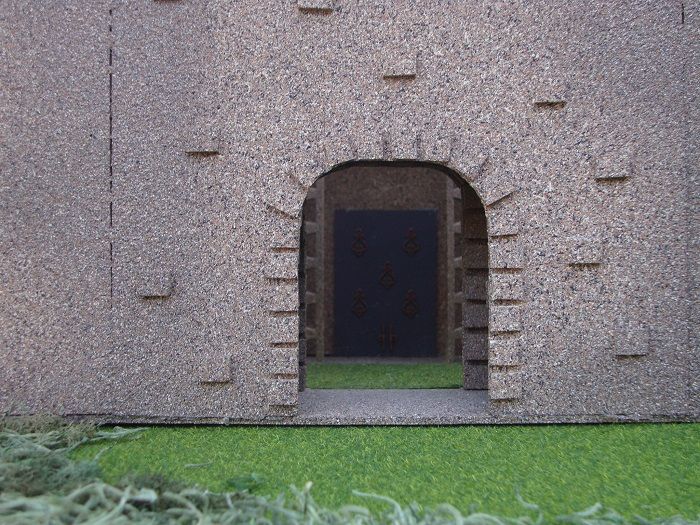
The black area you see in the middle of the picture is a door.  Between the opening at the front and the door are two hallways and a little courtyard.  One of the hallways is right behind the opening seen at the front, and one of the hallways is right in front of the door.


This is another little area that is right of the hallways and courtyard in the previous picture.


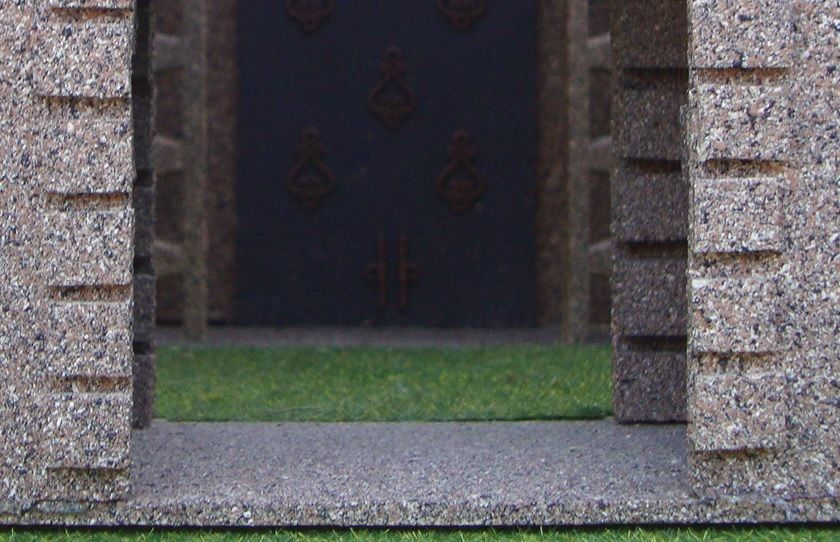
This is the doorway that can be seen in the previous picture.  It leads into the courtyard.


This is from the right side of the castle looking through the courtyard toward the Great Hall.


The back of the castle.


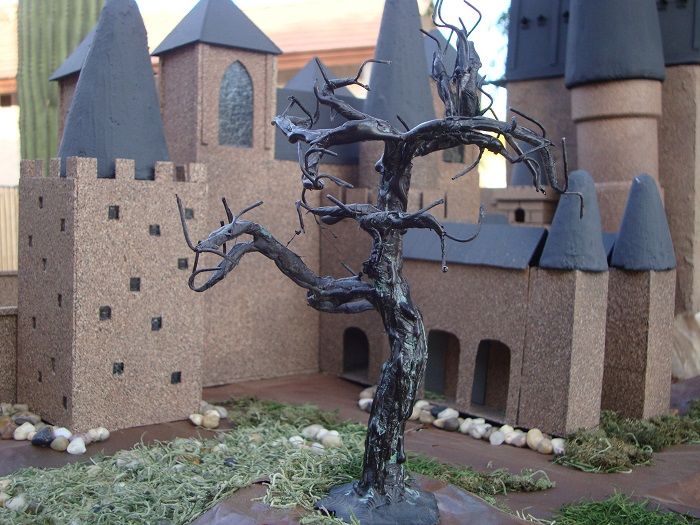
The Whomping Willow


The tower seen in the middle of the picture is made from some sort of pipe tubing.


This building is separate from the rest of the castle.  I used both wood and pipe tubing to make it.


This is a picture of the base of the building in the previous picture.


Tuesday, November 5, 2013

Harry Potter Crafts - Weasleys Wizard Wheezes

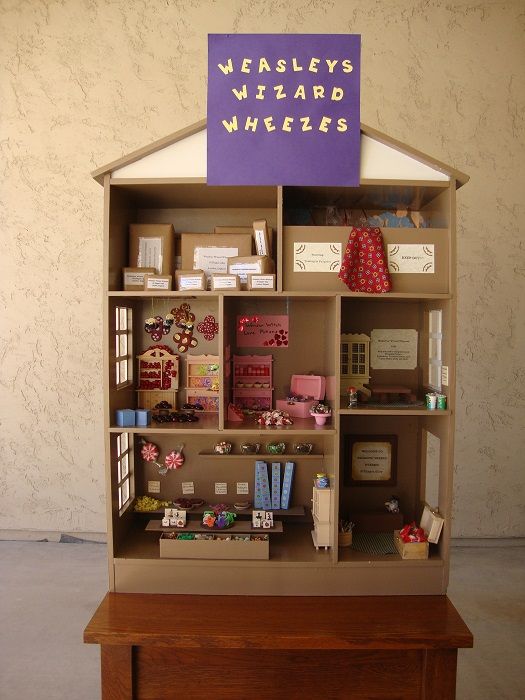
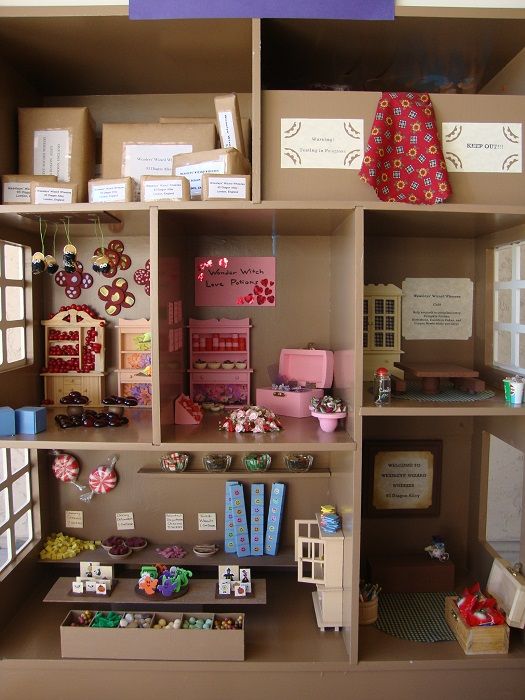
Anybody who has read the Harry Potter books knows that Weasleys Wizard Wheezes was the joke shop Fred and George Weasley opened up in Diagon Alley after they left Hogwarts in a blaze of glory.  For this project, I challenged myself to make a Weasleys Wizard Wheezes using only craft items, with the exception of the "building", I had on hand.  So I went to some rummage sales in search of that and found a dollhouse for $5.00.  Because I used scraps and other things I had on hand, this entire project cost only $5.00.  When I purchased the dollhouse, it was painted in colors of pink and purple, so the first thing I did was paint it using some paint that had been used to paint the outside of my house.  


For the mail room, I just took pieces of styrofoam in various sizes and covered them with pieces of brown paper bag.  I then labeled them "Weasleys Wizard Wheezes - 93 Diagon Alley - Longon, England."


I made a little testing room by randomly hanging things from the ceiling and splattering paint on the walls.  The sign on the right reads "Keep Out!" and the sign on the left reads "Warning - Testing in Progress."


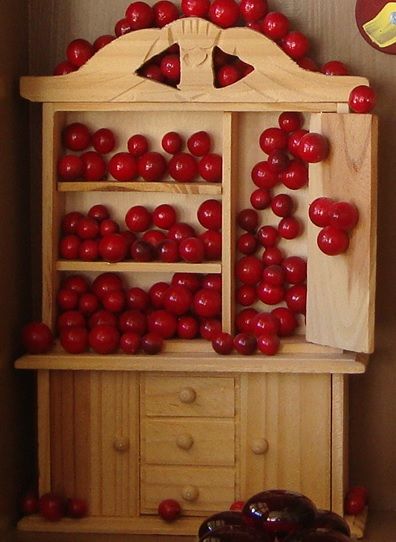
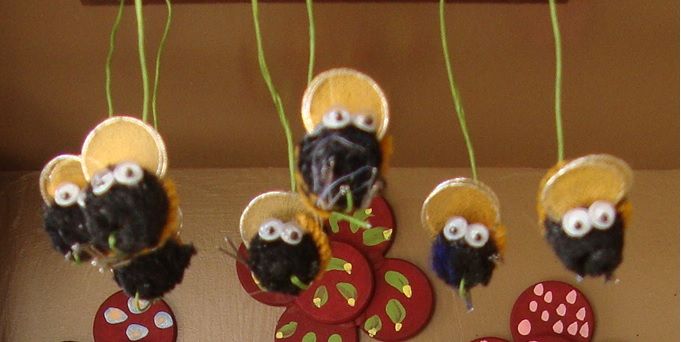
The two cabinets against the wall are pieces of doll house furniture I had in my stash.  I painted one of them pink.  The pile of stones are red craft stones, and I made the two blue boxes from small pieces of wood.  I have no idea where I got the bees from, but they were in my stash and I thought they were so cute so I glued them to the ceiling.


If I remember right, I cut these little red beads from some Christmas garland.

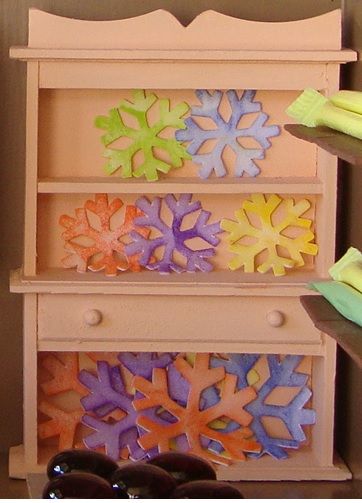
I had some white foam snowflakes left over from a mini-album I finished a little while ago and to make these I just stamped them with different color ink.


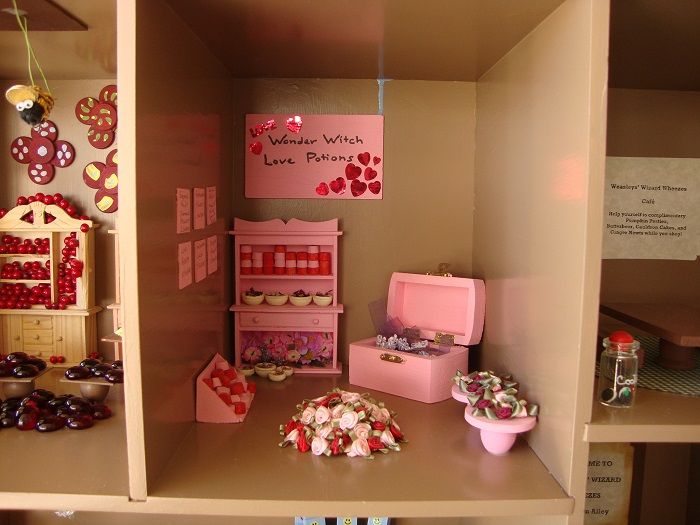
The twins sold a line of love potions called Wonder Witch Love Potions.  I painted little pieces of wood red and pink and stacked them on a piece of dollhouse furniture as well as placing some in a bin on the left side of the room.  I also placed wooden bowls of potpourri on the dollhouse furniture and on the floor.  The pink trunk in the corner contains lace and fabric flowers, and I put some ribbon roses on a couple of little tables as well as in a pile on the floor.


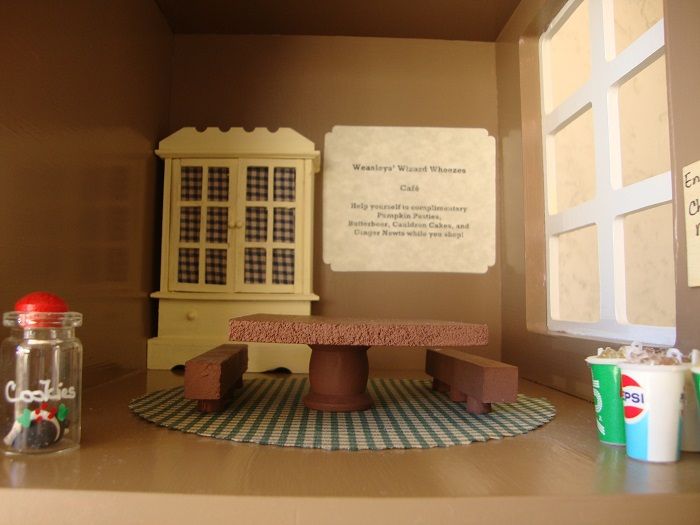
I turned this room into a little cafe.


I had these soda cups in my stash that I thought were cute, but they were way too big so I added the "Engorgement Charmed Muggle Soda" sign above them.
 

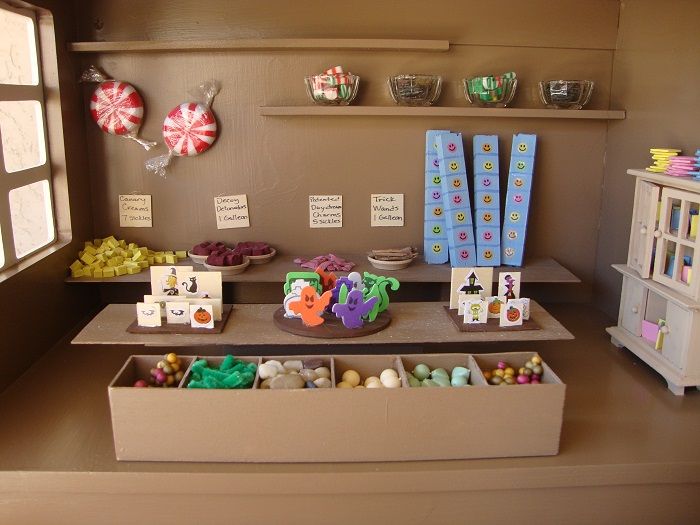
I added some little shelves on the back wall to make room for more products and made the tables and the bins that are on the floor of the room.  I filled the bins with an assortment of things such as beads, pieces of pipe cleaner, etc.  On the back table are some products mentioned in the books, as well as some things I created from some things in my craft stash.  On the middle table are some Halloween items.  The items on the left and right of the table are simply pieces of wood onto which I put some stickers, and in the middle of the table are little foam stickers I glued upright.


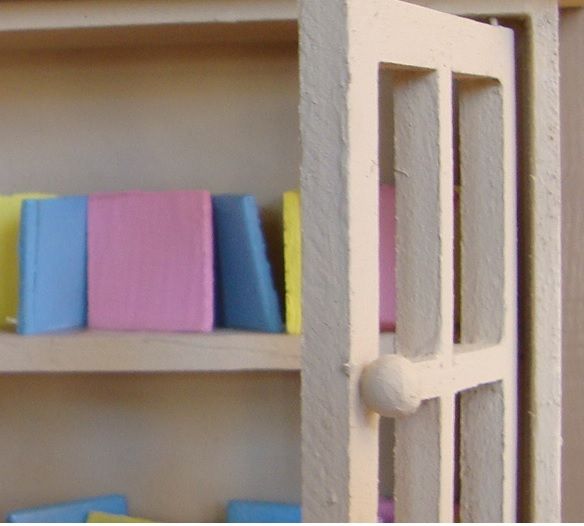
This is a piece of dollhouse furniture that I painted a light color.  I then painted little pieces of wood randomly in colors of blue, pink, and yellow and randomly glued them into and on top of the cabinet.


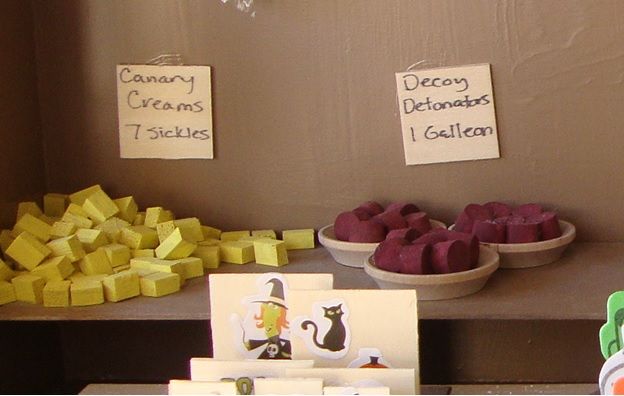
For the Canary Creams, I just cut a piece of wood into little pieces and painted them yellow.  For the Decoy Detonators, I painted little pieces of wood a dark purple color.


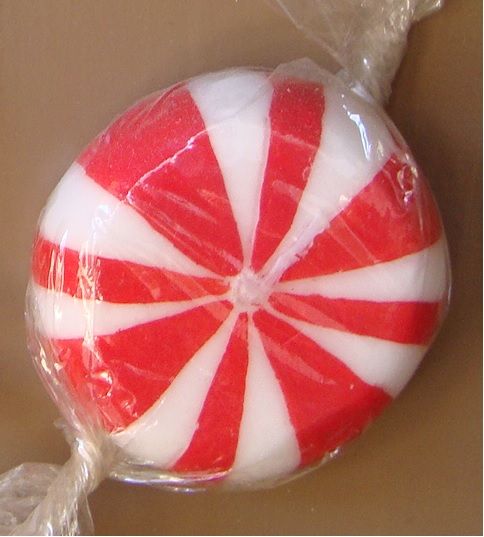
I don't recall where I got this either, but it looks real so I just glued a couple of them to the back wall.


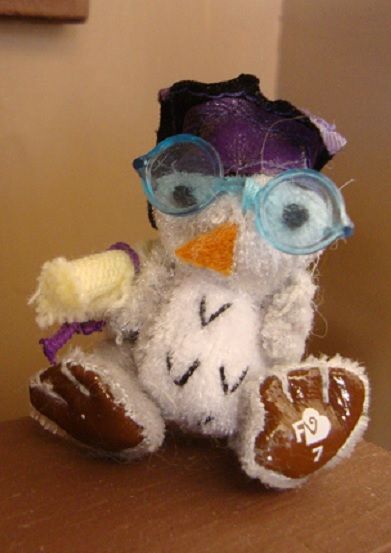
This is the entryway of the store and is still a work in progress.  There's a lot of room to add things here and it looks a little bare so I'll add things here and there as I come up with ideas or items in my craft stash I can use.  On the left are just little wooden sticks that I dipped in some sort of glitter glue and on the right is just a little wooden trunk that I filled with candy.  I don't recall where I got the little owl, but I thought it was cute so I just set it on the front desk.  I made the sign - Weasleys Wizarard Wheezes - by painting a piece of wood, printing the sign on a piece of cardstock, distressing the edges to give it an aged look, and attaching it to the wood.